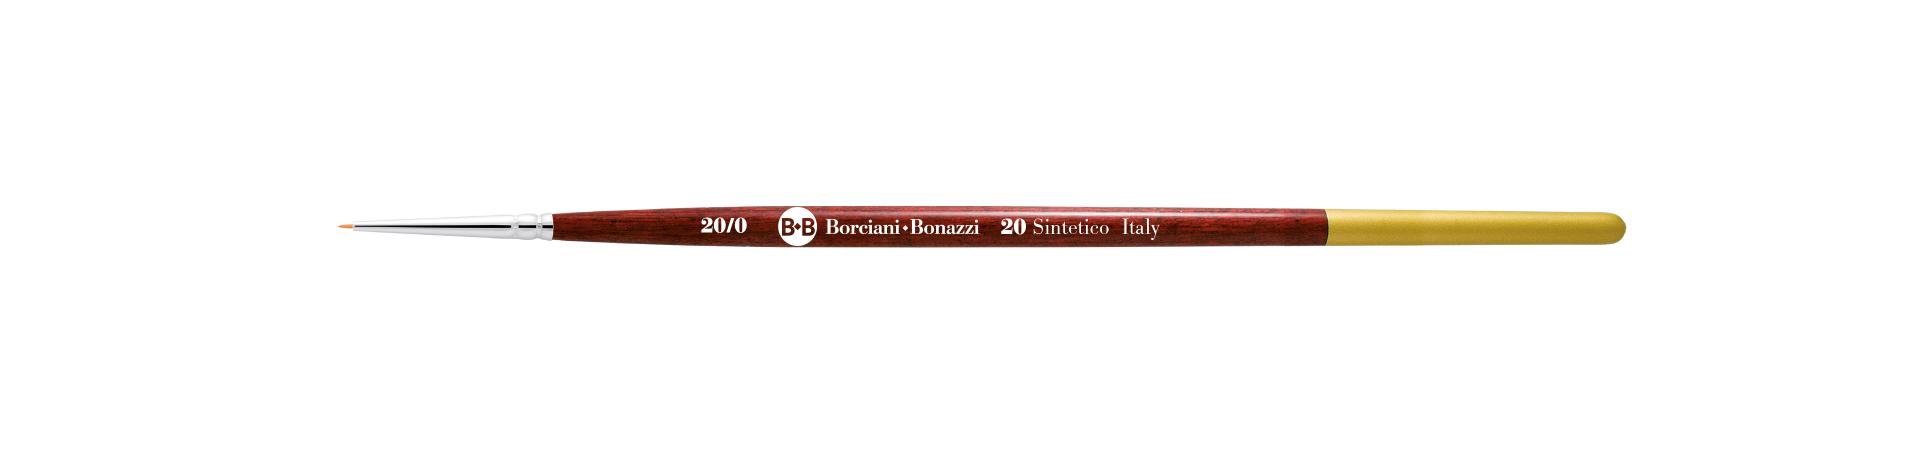

Round tip brush for micro-painting, with gold synthetic fibre, short handle in earth-red lacquered wood with gold tip, and a nickel-plated brass ferrule.
The soft and elastic gold fibre is ideal for oil and acrylic, basic watercolours, gouache and other painting techniques not needing thickness. The short handle... Read more
Painting Miniatures: the complete guide

Painting Miniatures: The Complete Guide to Get Started
Painting miniatures is a fascinating and enjoyable artistic activity that stimulates creativity and the development of artistic and technical skills.
It's a niche hobby that has developed from the world of miniature gaming, tabletop games, and wargames, which is becoming increasingly popular even outside of hobby shops thanks to the development of digital sculpting and improvements in technology related to 3D printers and synthetic filament brushes for miniatures.
These new tools make miniature painting accessible to everyone. However, some considerations need to be made when deciding to paint miniatures, evaluating the tools that need to be used and the ideal brushes for miniatures to achieve satisfactory results.
Painting miniatures requires dedication and a bit of patience. However, even those who are beginners or are afraid they don't have enough artistic talent can achieve excellent results by choosing the right tools and following the guidelines we will describe.
In this article, we will describe what you need to paint eye-catching miniatures, including the best brushes for miniatures, outlining the process to follow to achieve the result you desire.

Painting Miniatures: What You Need to Get Started
Starting with miniature painting requires just four tools: a model, paints, a palette, and brushes.
Painting miniatures may seem like a difficult and complex activity, especially when looking at some miniatures created by the best artists in the field. It's clear that achieving results comparable to theirs takes time, consistency, and a lot of practice.
You can start by working on simple models, investing only in the essentials needed to paint miniatures without worries. In fact, all you need are a miniature or model, a basic set of paints for miniatures, a palette to mix your colors, and one or more brushes.
These tools are more than enough to get started. Let's look at them in detail.
Painting Miniatures: The Model and Its Preparation
There are hundreds of miniature and model manufacturers on the market catering to all tastes: from historical figurines to fantasy and science fiction miniatures. If you enjoy tabletop games, you probably already have many miniatures to paint inside one of the boxes!
All you need to start your journey into modeling is to get some miniature brushes and a few paints.
In case the miniatures you need to paint require assembly, you might also need the following tools:
- Plastic glue or cyanoacrylate, depending on the model's material
- Cutting pliers to separate the model from the sprue or remove residues
- Precision cutter
- File or fine sandpaper
Once your miniatures are assembled, you can grab your brushes and start painting!
Painting Miniatures: Primer for Miniatures
Primer is a base layer, often colored, applied to the miniature and serves as the foundation for subsequent layers of paint.
It is usually applied using a spray can or an airbrush. Applying primer with an airbrush or spray can is the most precise method compared to brush application, but it can also be applied using a sturdy brush.
It's important to apply a uniform layer of primer without creating buildup in the details and recesses of the miniature.
The colors used for primer are usually white, black, and gray – sometimes combined – depending on the colors that will be applied later. It's advisable to avoid applying a layer that is too thick to cover the smaller details.
Painting Miniatures: Colors
Acrylic paints are perfect for painting miniatures: easy to use with just a little water, vibrant, durable, and can be applied using a brush.
Choosing the right colors is crucial for achieving an excellent miniature. The advice is to select a small range of quality colors and practice mixing tones.
In addition to traditional acrylic colors, you might consider purchasing colors for the 'Speed Paint' technique, which are translucent colors that easily create color bases, shadows, and highlights on a simple white primer background.
This technique is a variation of the grisaille method applied to three-dimensional models instead of a canvas for artists: transparent colors are applied to a base in shades of gray that sets the light and shadow values of the work.
Here's an ideal selection of colors and tones to start painting miniatures:
- Primary colors: yellow, magenta, and cyan blue
- Blue and a non-primary red (such as Ultramarine Blue and Vermilion Red)
- White and black
- Silver and gold for your miniatures' weapons and armor
- Some pre-mixed flesh tones, if you prefer not to mix them yourself.
Painting Miniatures: Brushes
Here's what you need to know about brushes for painting miniatures:
Choosing the right brush is essential for painting with ease and achieving satisfactory results. Painting miniatures becomes much easier when using high-quality brushes specifically designed for the techniques involved.
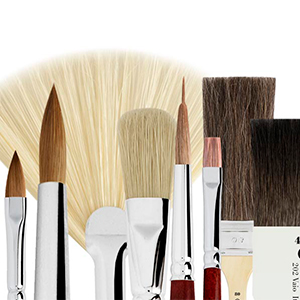
What makes the difference isn't just the size of the brush, but especially when painting the smallest details, the quality of the tip. For years, Borciani e Bonazzi have been developing technologically advanced synthetic brushes for miniatures suitable for both novice painters and experienced artists in miniature painting.


Gold fiber Gold fiber is elastic and moderately soft, a characteristic that makes it suitable for all painting techniques without thickness, such as miniature painting.
It's a synthetic fiber used in synthetic brushes as an alternative to ox hair brushes. The perfect brushes for miniature painting with gold fiber include series 20, series 21, series 10 and series 820.
The larger sizes are perfect for applying base colors, while the smaller ones are ideal for highlights and details. They are practical and easy to handle, with a fine tip perfect for painting miniatures.

Dark red-violet fiber: Dark red-violet fiber is a tough and durable synthetic fiber, comparable to bristle.
Brushes made with Dark red-violet fiber maintain elasticity and paint retention, making them suitable for working on three-dimensional surfaces without compromising the shape of the tip.
They are perfect for painting miniatures when you need to move paint across complex surfaces with controlled brushstrokes.
For painting details on miniatures, the ideal synthetic brush is the precise series 605 TOP GRAPHIC.

Kolinsky Sable and Certified Synthetic Kolinsky Sable: The world's most famous miniature painters prefer to use Kolinsky sable for their models.
Natural sable hair is valued for its ability to maintain its tip and consistent behavior during use.
The 107 Masterpiece natural Kolinsky sable line is chosen by many artists as their main brush, used for applying very diluted colors. Borciani e Bonazzi have developed a sustainable alternative to use natural sable hair, a new highly technological synthetic filament with performance equivalent to natural Kolinsky sable hair, with improved performance, elasticity, and retention.
This filament is used in the IL PERFETTO series.
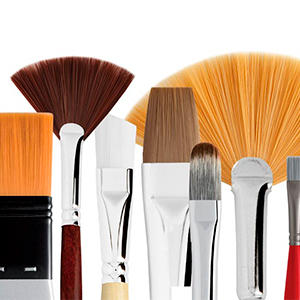
Besides various fibers, bristles, and filaments, it's useful to employ different types of brush tips to achieve the desired result.
Miniature painters primarily use round-tipped brushes, but they also take advantage of the properties of flat-tipped, filbert, and even dome brushes for various steps in the painting process!

Painting Miniatures: Step-by-Step Guide
Every artist has a customized process for painting miniatures.
There's no fixed procedure for painting miniatures. Each artist has their own method, and it will be fun, especially for beginners, to experiment and find techniques that suit your style and the result you want to achieve.
Especially for those who are new to miniature painting, it's advantageous to have guidelines to follow to avoid beginner mistakes. The following is not a rigid and immutable structure; instead, it's a guide that we encourage you to personalize and integrate.
Step 1: Miniature Preparation
The first step in painting miniatures is to prepare your workstation and the miniature for painting. Clear your workspace and cover all surfaces with a newspaper. Prepare your paints, palette, and a glass of water, and ensure that the area where you'll be working is well-lit.
If the miniatures need assembly, consider whether it's better to paint them separately or not. Some areas might be difficult to reach if you decide to paint them after the miniature has been assembled.
Then, place your miniature on a support for easier handling: a cork cap or a wooden block will be very useful to start with! A miniature holder will help you keep the figure steady at different angles without risking touching the painted surfaces.
After experimenting with homemade supports, you might decide to purchase a modular one designed specifically for miniature painting, for an even more comfortable painting experience! completely unique creative process of your own.
Step 2: Primer Application
At this point, we can apply the primer, commonly known as the undercoat. It's the first layer of paint and serves as a binder, meaning it's the layer of color onto which subsequent colors will adhere.
The most common colors are white, black, and gray, but there are also colored primers available to make the painting process even faster!
You can apply it using a brush, spray cans, or an airbrush for faster coverage, especially if you want to paint multiple miniatures at the same time.
When using primer, it's important to pay attention to the distance from which it's applied, the ventilation of your workspace, and the room temperature.
For spray cans, the ideal distance is 20-30 cm, applying it with short bursts and being careful not to cover the model's details with an excessive amount of paint.
Avoid strong drafts or temperatures that are too cold or too hot: drafts will prevent the spray paint from adhering properly, while extreme temperatures can cause the paint to dry too quickly, creating an undesirable texture.
Applying primer with a brush is straightforward: use a large round or flat-tipped brush, dilute a primer formulated for this purpose slightly, and apply a thin first coat of primer. Allow it to dry completely and repeat the process to achieve a perfect undercoat!
Step 3: stesura delle basi di colore
Using a medium-sized brush with a soft round tip like the 820 series and paint diluted in a ratio of about 1:1 with water or a dedicated acrylic medium, start painting the various parts of the model.
Depending on the color of the paint and the undercoat, you may need extra layers. Always use thin layers to avoid covering up the details.
Move on to other areas of color and repeat the steps until you've based the entire model. Mistakes are easy to correct now: use a damp brush to remove them or touch up with a fine brush.
Wait for the base to dry completely before proceeding. A well-done base sets the stage for the next details.
To speed up this step, you can also use colors suitable for the "Speed Paint" technique to complete this operation with a single layer of paint - but the primer base should be white or a sufficiently light color to achieve a better result.
Step 4: Shading and Washes
Once the base colors are applied, you can use highly diluted colors (for example, 1:5 ratio, commonly referred to as "washes") in darker tones to start setting the shadows of your model, applying the diluted paint to the parts of the model you want to appear in shadow.
You can use a large brush to apply the wash to drapery or large parts of the miniature.
For smaller details, such as crevices and recessed areas, use a thin brush like series 20 and series 21 to deposit the wash, creating the shading effect.
Dark tones like black, or neutral tones like brown or sepia, are commonly used. For a striking effect, use a wash of a complementary or opposite color to that of the model!
Apply the wash freely to the areas to be shaded, maintaining control. Move the brush in the same direction, towards the darker areas.
Apply the wash one section at a time for better control. Remove excess wash with a clean, slightly damp brush. Allow it to dry completely before proceeding with further layers.
Step 5: Highlights, Layering, and Edge Highlight
To set the color of the brightest parts of your miniatures, you can use various techniques. The most common is layering, which involves layering progressively lighter colors on increasingly smaller areas of the miniature, moving towards the "light source" that illuminates your model.
In most cases, the model will be lit by a diffused light coming from above - as if it were under sunlight! - so we'll proceed from top to bottom.
Mix the colors used in Step 3 with some white or a generally light color (such as sand, bone color, or a very desaturated yellow or blue!) to obtain lighter shades of the original color.
Apply it only to a portion of the entire colored surface and repeat with an even lighter shade to define the three-dimensionality of the model.
Finally, you can use a very light version of your base color (for example, 3 parts white and one part blue) to mark the edges of the details of your model (so-called "edges") and highlight some volumes.
Use very little paint and the side of your brush on the sharpest edges, being careful not to compromise what you've done so far.
Step 6: Balancing Shadows and Lights with Glazes
After completing steps 3 and 4, you may want to "blend" the lights and shadows of the model using a glaze.
A glaze - a highly diluted color applied in light successive layers - aims to change the hue of the underlying colors to the color of the glaze, without completely covering them, exploiting the transparency properties of miniature colors.
Dilute the color generously and dip the round-tipped brush into it. Then, unload most of the color onto a suitable sponge like LA PIETRA by Borciani e Bonazzi (following the instructions for use) so that the brush retains only a minimal amount of pigment.
Then, gently brush the brush over the parts of the miniature where you want to change the color, guided by the layering and highlights from the previous steps.
Wait for a glaze to dry completely before applying a second layer and repeat until you achieve a satisfactory result!
Step 7: Details
This step involves the creation of smaller details that require more attention, such as eyes, ornamental objects, small light sources, or material textures.
For details, it's ideal to use a brush like the precise series 605 top graphic: the fine tip and controlled color release fiber will allow you to have greater control over the creation of the minutest details.
With some practice, you'll be able to bring your models to life!

Step 8: Weathering and Effects
Weathering, or "aging," is a series of techniques that simulate natural wear and exposure to the elements. From a rusty tank to a cloak dirty with mud, it can bring miniatures to life, giving them a battle-hardened or weathered look.
It's not about simply dirtying the miniatures, but adding realism and narrative by replicating the effects of time and the environment.
These techniques can enhance the realism of the model and communicate its story. For example, worn armor or a rusted vehicle can tell tales of past experiences.
Weathering can also create atmospheres, like a post-apocalyptic one with heavy rust. The simplest way to achieve these effects is to use specifically formulated products with a robust brush. Avoid using delicate or fine-tipped brushes for this step.
Make sure to take time to think about how streaks and stains flow on the surface when the model is stationary and not just in its current pose. This adds an extra layer of realism to your models.
Step 9: Basing or Mounting on a Plinth
Choices regarding the basing of miniatures have a significant impact. Use various materials to highlight details and emphasize the theme of your miniature, enhancing realism and showcasing the painting work.
The base is an integral part of your army, and uniform bases tell a thematic story. Start by diluting glue with water, apply it to the base, dip the miniature in sand or baking soda, then remove the excess. Add tufts of synthetic grass for an extra touch of realism!
If you aim to display your miniature, you might consider mounting it on a wooden or plastic plinth to give it proper prominence in the display!
Related products

Round brush for retouching with fine gold fibre, a short handle in earth-red lacquered wood with gold tip and a nickel-plated brass ferrule.
The fine gold fibre is extremely soft and elastic, created to achieve lightness and softness in the pictorial touch. Ideal for retouching and restoration in any artistic... Read more
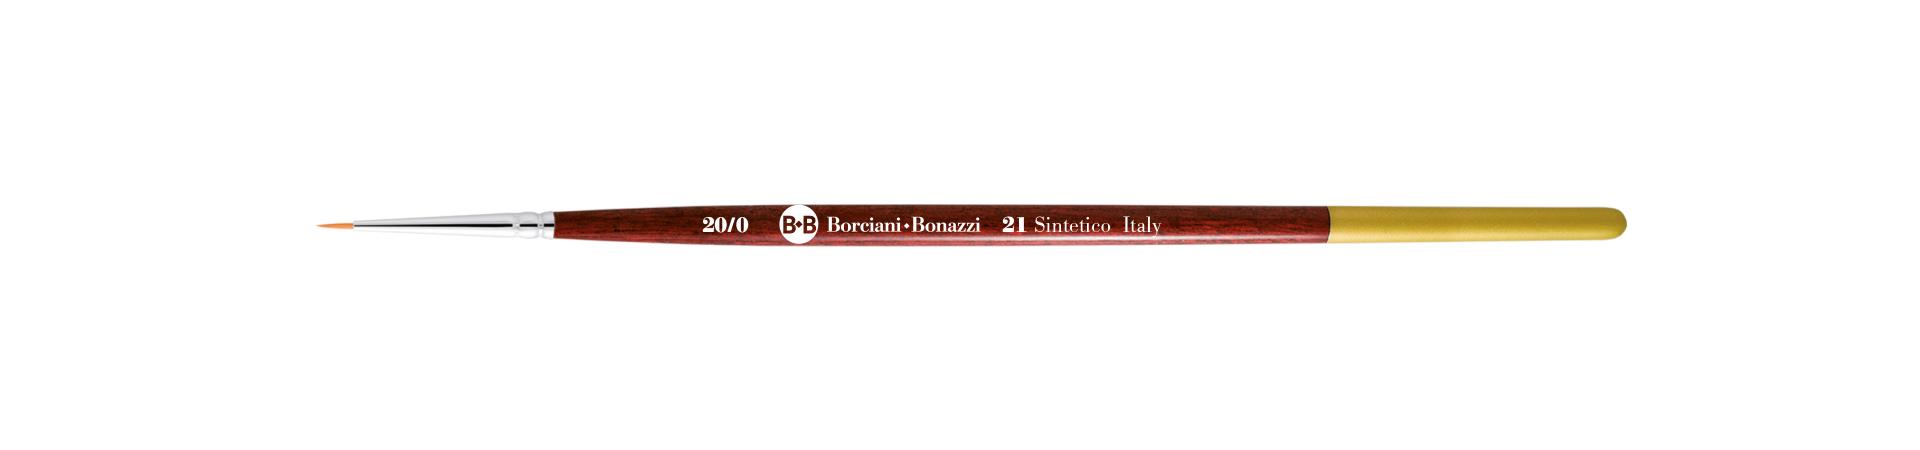
Series 21 round brush for micro-painting, with gold synthetic fibre and short handle.
€5.40
(VAT incl.)
Round tip brush for micro-painting, with gold synthetic fibre, short handle in earth-red lacquered wood with gold tip, and a nickel-plated brass ferrule.
The soft and elastic gold fibre is ideal for oil and acrylic, basic watercolours, gouache and other painting techniques not needing thickness. The short handle... Read more
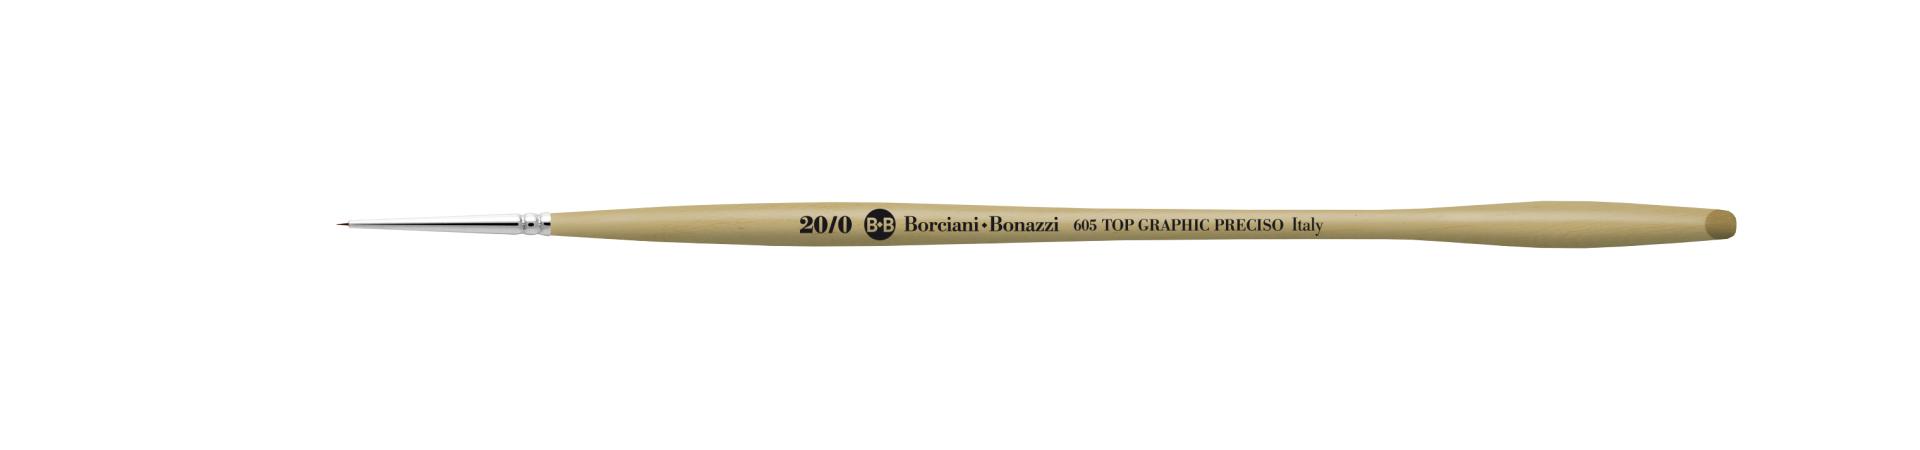
Series 605 TOP GRAPHIC PRECISO round brush with dark-violet synthetic fibre and wooden handle.
€6.82
(VAT incl.)
The Series 605 brush is characterised by: an extra-pointed stiff dark red-violet synthetic fibre to ensure stability of the form of the tip, a chromed brass ferrule with micro diameter, an ergonomic grip with light birchwood handle in a characteristic Top Graphic design, water-based varnish with characteristic grip... Read more